This is the final MAJOR step (there are a few things to do after but they are small details to add) and its tying on the twine to the netting and flight suit! Again this is a very simple task but one that takes some time and is quite repetitive so it's time to go and put on a movie!
Now the idea here is to add the camouflage on so that it mimics the surroundings. So you want to add the colours on in big patches and of colour rather than a couple of green strands next to a few brown strands. A good idea is to look at some real camouflage and mimic the pattern. Here is the camo I used as reference:
It is British Army DPM Camouflage and as you can see it uses big patches of colour.
So a good idea is to separate your Twine into piles depending on their colour; light browns, dark browns, light green and dark greens.
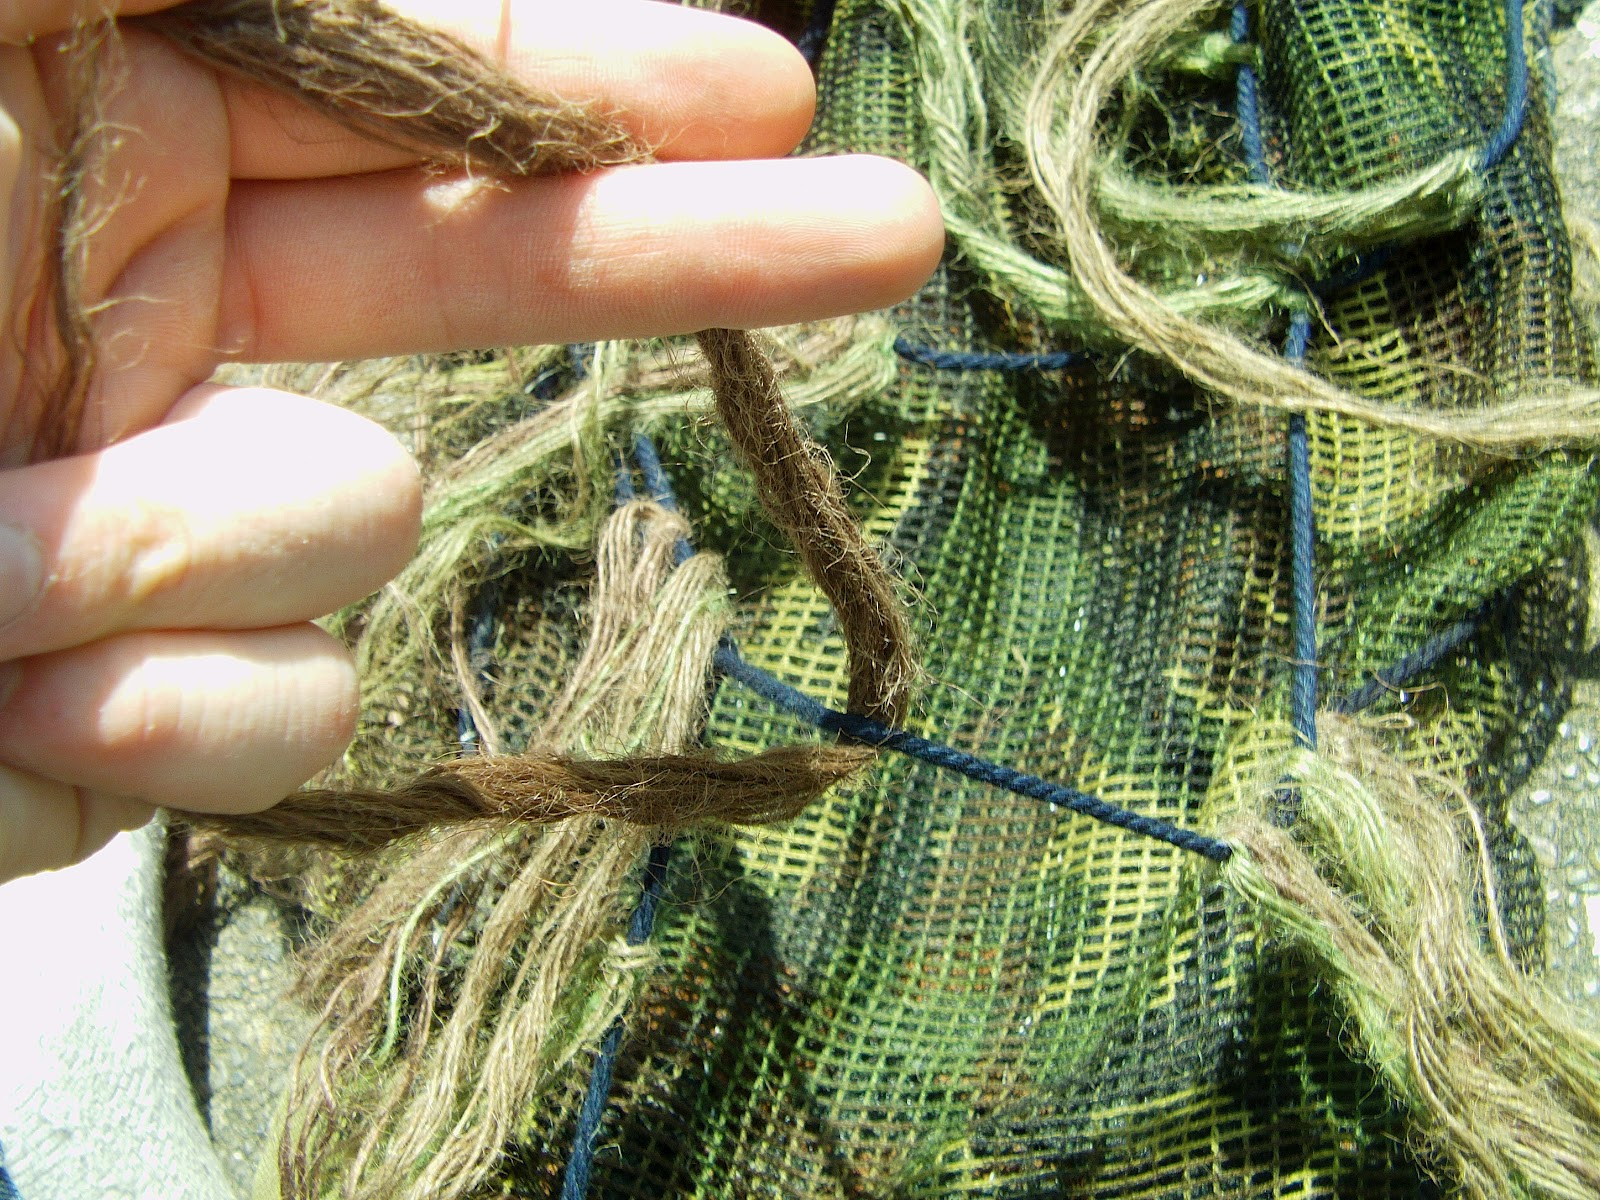
Now starting from the bottom of the legs start tying you twine on. Nothing fancy simply thread about 4-8 strands of the same colour under the net and the tie a simple knot in it.
 |
| First: Loop the twine around the net |
 |
| Bring one side over to the other side |
 |
| Pull the loose end through the hoop |
 |
| And pull both ends tightly! |
Keep doing this remembering to make big patches until you have done the whole suit! You
DON'T want it to be too thick either, there should be patches of nothing as well because you will need room for the foliage later
 |
| Far away the suit looks full |
 |
| But close up there are plenty of handy gaps |
So here is my suit with no foliage on! The hat is really simple to do just add the volleyball net to it, sew it on and add some twine!


No comments:
Post a Comment