Now this part isn't as dramatic as the title suggests! In this part we will be cutting up the jute twine into different lengths and then dying the whole lot lots of earthy colours.
Now the first thing to do is to get you roll of Jute Twine and a pair of sharp scissors. This part is very tedious and repetitive but don't get disheartened the easiest way to do this is to watch a film or some tv whilst cutting the thread and you will be surprised how much you can get done in just one program!
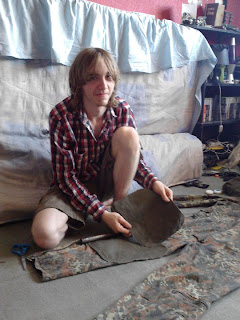
I found the easiest method was to sit on the floor with the roll between my feet, have the scissors in my right hand (or left if your left handed) and then grab the Jute Twine thread from the middle of the roll
 |
| So I hold the twine in my feet then use my left hand to pull the twine while my right (which is currently using the camera) would use the scissors |
 |
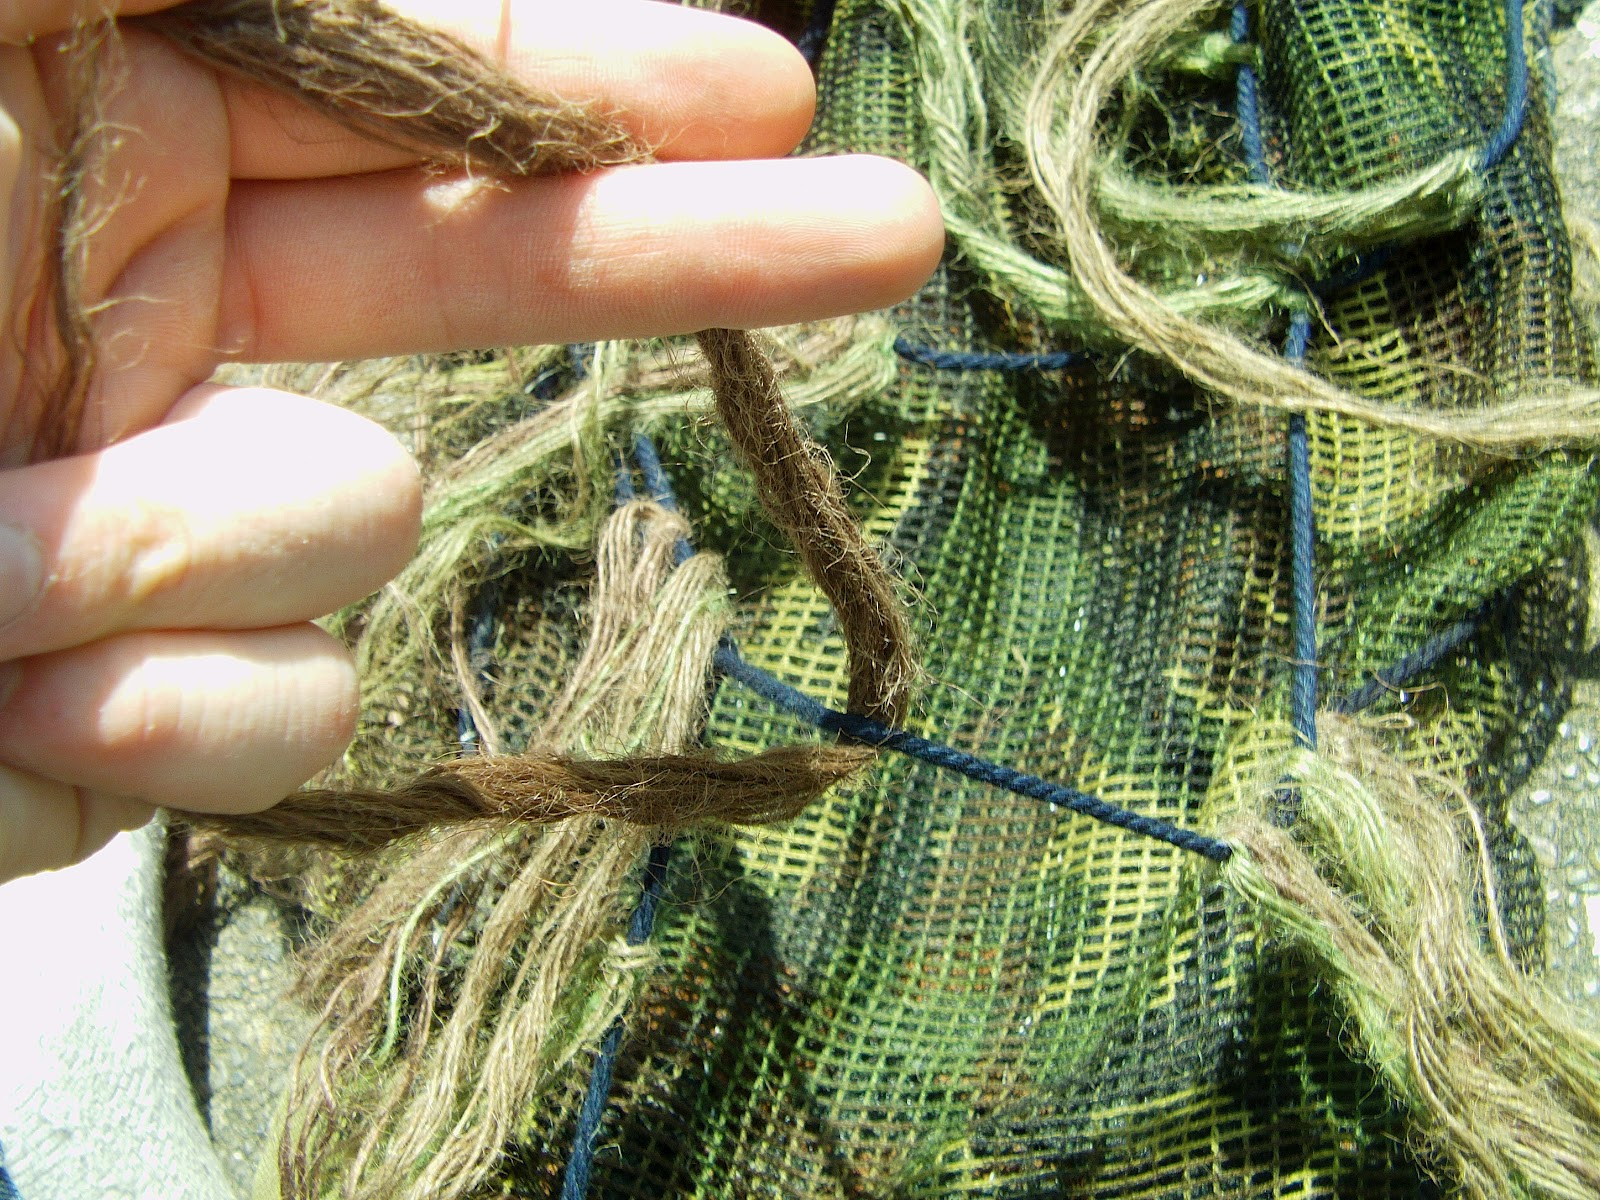
| This is a little trick I found out. As you go to cut the jute grab it in your fingers, this way when you cut the twine you still have hold of the roll so you don't have to pick it up again and again! |
You want the threads to be between 12-18" in length (roughly) so just pull the thread up and then cut it. The trick is to grab the thread with another finger below where you cut it so that it doesnt fall to the floor that way you can just pull it back up again and cut it quickly. I normally gather about 20-30 strands in my hand then place them down and start again. Now just rinse and repeat until you have cut up all you rolls!
Now that the fun is out of the way..............yeah fun........... we can move onto something more interesting, the dying!
You will need a bucket, some hot water, your dye, lots of salt, a stick to stir the twine and your twine. Now you could read the instructions on how to do this but that's only if you want a perfectly coloured piece of fabric, and we don't, we want a natural look that's all scruffy and untidy just like nature is.
So the first thing to do is to fill the bucket 3/4 of the way up with hot water (hotter the better but be careful it's...........well going to be hot!) Now add about half a packet of green dye and stir for 30 seconds. Add in a bunch of twine (a big handful is fine) and shove it underwater with the stick. Add about half a handful of salt into the bucket and begin stirring. Let it soak in for about 5-10 minutes stirring regularly.
Now take out the twine and hang it on a clothes rack OUTSIDE (it will drip onto the floor)
It's only the beginning!
Now you want to open up your brown dye and add a dash of it into your bucket, throw in some more twine and salt a stir it like last time. Leave it to soak for 5-10 minutes again and add it to the rack!
Keep doing this until about half the brown dye has been poured in (remember to keep adding fresh hot water to the bucket) When half the packet is done you should have a nice range of greens from light-ish green to dark green. You now want to do get some browns in there!
So empty the bucket and refill it with hot water. Throw in the other half of the brown dye and stir it. Add some more twine in and salt and stir again this time leaving it in for 10-15 minutes. Add it to the rack and add some more twine into the bucket only leaving it in for 5 minutes before removing. Now start adding some green dye into the bucket and then dying the jute. When the remanding green dye has gone you should still have one more packet left of green dye. Throw half of it into the bucket and some more twine and salt and stir. This is just to give it some more variance in colour. After removing the first bunch of twine throw in another bunch (this should provide a lighter colour of the one before)
Now empty your bucket and fill it with hot water again, then dump the last of the green dye in the bucket and the remaining twine. Leave this in the bucket for a good 20+ minutes to really let it soak in (making sure to stir frequently). Hang the last batch up and leave it to dry. It takes ages to fully dry so leaving it overnight in the garage or back garden is a good idea (as long as it isn't raining!)
The lighting is bad as all my green is at the back in shadows so it looks brown! But you get the idea.